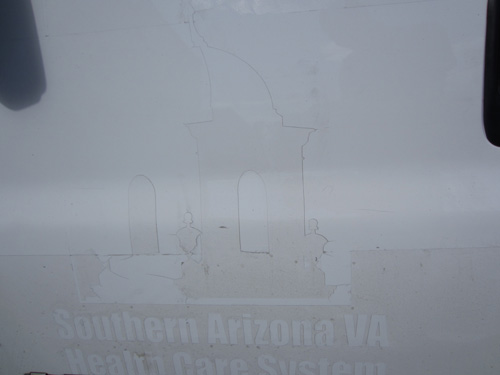
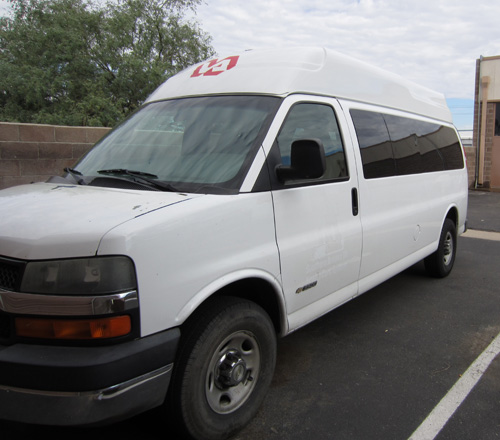
Vinyl Graphics, before an install.
Vinyl Graphics Removal:
I think it would be a rather nice alternative to showcase what happens before a graphics install. This here is another van for the VA of Southern Arizona. That vinyl is so old and worn out it looks like we will have to remove it all. That’s just what we did. We removed the old vinyl with a heat gun and scraper. Once all the old graphics were removed we had to remove the leftover adhesive that remained from the vinyl. Cleaning this is important because there needs to be a clean surface for the new installation. After being thoroughly cleaned we can now begin the vinyl installation process. Check out our last VA Van install here.
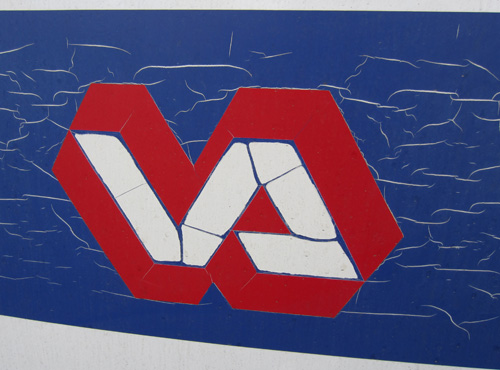
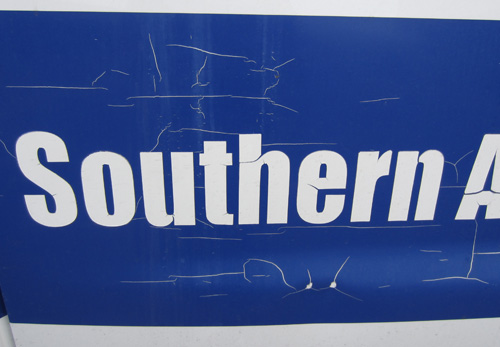
Here we have closeups of the cracked and warped old graphics and logo. Looks terrible right? This is caused by sun exposure. The graphics have exceeded its original lifespan and it now must be replaced. You wouldn’t have to but it will look so much nicer with new graphics.
This is what the van looks like during the removal process. Here it is around 95% completed. We still need to wash it.
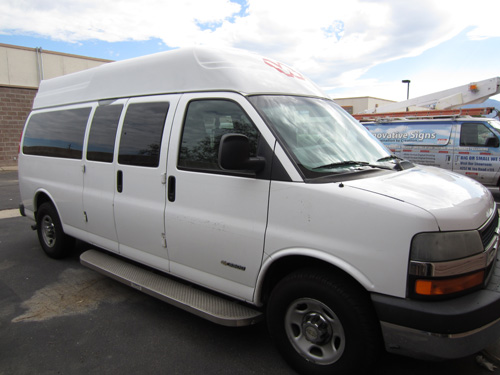
We still need to remove that VA logo up at the top. There’s still a bunch of little pieces around the hood of the van too.
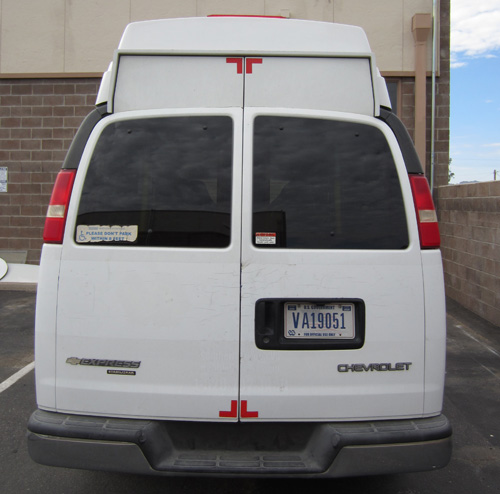
The nasty little leftovers from the removal process. The dirt and old age has left the letters and shapes in place as outlines on the vehicle. There is dirt mixed into that adhesive. When we clean it, this stuff turns into a Jell-O like mush that sticks to everything.
